

This is a continuation from preview selected images tutorial, I will now explain how to take the multiple selected file data and upload it to the server
.
We will be using the FormData object, native to JavaScript to store the raw file data which will be uploaded using jQuery AJAX.
Within the init() function I first check the browser supports FormData and if so the object is initialised.
if(window.FormData){
     formData = new FormData();
}
When looping through the files array to add the photos to the view I also push this image file data into the newly created formData object. This is done in the listImages() function.
$.each(files, function(i, file){
    ...
    if(formData){
        formData.append('images[]', file);
    }
    ...
});
After the images are added to the UI, I append the upload photos button which will then allow the user to upload the photos by calling the AJAX method. This is done at the end of the listImages() function.
fup.outputArea.append(fup.fileUploadBtn);I have made a new function called imageUpload(). When the images are submitted the formData object is added to the AJAX data property, this will send the raw file data to the server for uploading.
imageUpload: function(){
if (formData) {
$.ajax({
url: "uploader.php",
type: "POST",
data: formData,
dataType: 'json',
processData: false,
contentType: false,
success: function (res, status, jqXHR) {
for (var prop in res) {
$('.'+res[prop].className).prepend('<p class="text-success"><i class="glyphicon glyphicon-ok"></i> Uploaded</p>');
};
}
});
}
return false;
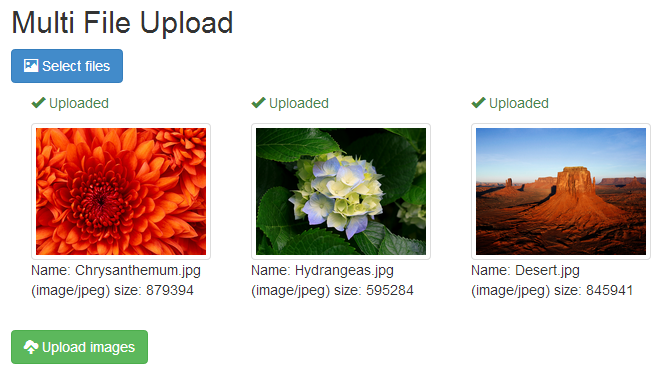
}When the files have been uploaded a simple JSON object is returned with class names for each file. The success callback is called and I loop through the JSON to prepend the upload success message.
I used a simple php upload script which is below. I loop through the files array and check the temporary file path is not empty. Then I specify the location to upload the file to and use the move_upload_file() function to do that. If it is successfully uploaded I create the CSS class name based off of the file name and add it to the $outputArr[]. The $outputArr[] is then converted into JSON for the success callback in the jQuery Ajax function.
$outputArr = array();
for($i=0; $i<count($_files['images']['name']); $i++)="" {="" $tmpfilepath="$_FILES['images']['tmp_name'][$i];" if="" ($tmpfilepath="" !="" ){="" $newfilepath="uploadFiles/" .="" $_files['images']['name'][$i];="" if(move_uploaded_file($tmpfilepath,="" $newfilepath))="" $classname="strtolower(preg_replace('/[^a-z0-9]/i'," '-',="" $_files['images']['name'][$i]));="" $outputarr[]="array('className'" ==""> $className);
    }
  }
}
header('Content-Type: application/json');
echo json_encode($outputArr, JSON_FORCE_OBJECT);
Please comment if you have any questions.